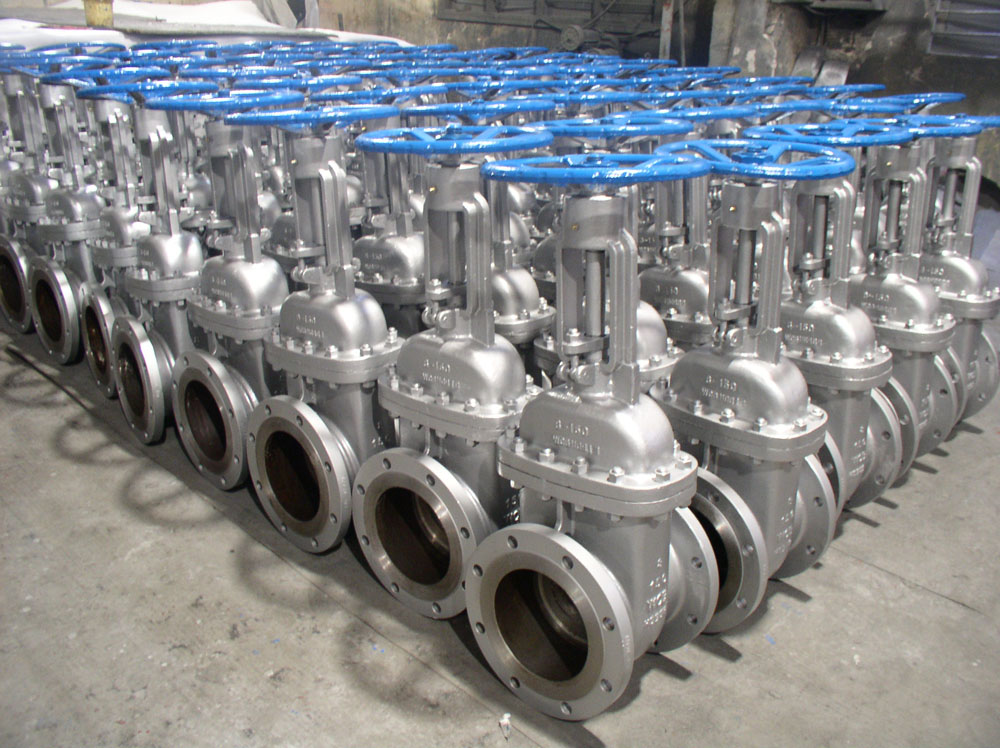
Before using sliver brazing to install valve, analyze the application to determine which valve is the most suitable for installation and keep in mind the service for which the valve is recommended. Before installing the correct
valve, review the installation instructions to prevent damage to the valve and assure its maximum efficiency.
1.Cut tube end square. Ream, burr and size.
2. Use sand cloth or steel wire brush to clean both tube and cut to bright metal. Steel wool is not recommended.
3. Apply flux to outside of tube and inside of solder cup. Surfaces to be jointed must be completely covered. Use flux reasonably.
4. Be sure that valve is fully opened. Heat the tube first. Transfer as much heat as possible into valve through tube. Avoid prolonged heating of valve itself.
Method of Silver Brazing:
Assemble parts to be brazed. If fluxed parts are allowed to stand, the water in the flux will evaporate, and dried flux is liable to flake off, exposing metal surfaces to oxidation. Assemble joint by inserting tube into socket hard against the stop. The assembly should be firmly supported so that it will remain in alignment during the brazing operation.
Note: On one inch and large valves, it is difficult to bring the whole joint up to temperature at one time. It will frequently be found desirable to use a double tip torch to maintain the proper temperature over the large area. A mild pre-heating of the whole socket is recommended. Heat the parts to be jointed. The preferred method is oxy-acetylene flame. Heat the tube first, beginning one inch from edge of valve. Sweep flame around the tube in short strokes up and down at right angles to run of tube. To avoid burning through tube, the flame should be in continuous motion and not allowed to remain on any one point.
Use flame to heat valve at base of socket. Heat uniformly, sweeping flame from valve to tube until flux on valve becomes quiet. Avoid excessive heating of valve.
When flux appears liquid and transparent on both tube of valve, sweep flame back and forth along axis of joint to maintain heat on parts to be jointed, especially for the base of valve socket.
Use just enough solder: with wire solder, use 3/4 inch for 3/4 inch valve. If too much solder is used, it may flow past tube stop and clog the sealing area. When joint is filled, a continuous flow of solder or brazing alloy will be visible.
Apply brazing wire or rod at point where tube enters valve socket. Keep flame away from rod or wire as it is feed into the joint. Move flame back and forth as alloy is drawn into joint. When the proper temperature is reached, alloy will flow readily into space between tube outer wall and valve socket. When joint is filled, a continuous rim of brazing alloy will be visible.
Remove excess solder with small brush while plastic, leaving a fillet around end of valve as cools.
The strength of a brazed joint does not vary appreciably with different brazing materials, but depends to a large extent upon the maintenance of proper clearance between the outside of the tube and the valve socket. The interior dimensions of silver brazing valve sockets are machined to the closest tolerance and finished smooth to promote fully capillary attraction.
Note: Be careful in cleaning and in removing residues of the cleaning medium. Attempting to braze a contaminated or improperly cleaned surface will result in an unsatisfactory joint. Silver brazing alloys will not flow over or bond to oxides. Oily or greasy surface repel fluxes, leaving bare spots which oxidize and result in voids and inclusions.
Threading
Grid, dirt or any foreign matter accumulated in the pipe can hinder efficient valve operation and seriously damage vital valve parts. Thoroughly clean pipe internally with air or stem.
When threading pipe, gauge pipe threads for size and length to avoid jamming pipe against seat and disc. Completely wash threaded end to remove any detrimental deposits of steel or iron. For a good joint, use Teflon tape or pipe dope. If pipe dope is used, apply sparingly on pipe threads, never on valve threads. Do not allow any pipe dope into valve body in order to avoid damage to disc and seat.
Before installation, check line of flow through valve so that valve will function properly. Close valve completely before installation. Use wrench to hex next to pipe and guard against possible distortion. After installation, support line, support line: a sagging pipe line can distort the valve and cause failure.
Flanged
There are several steps to follow to ensure that a flanged joint will be properly assembled. First, clean the joint carefully. Then, loosely assemble the joint by putting in the bottom two or three bolts. Then, carefully insert the gasket into place. The bottom bolts will help locate gasket and hold it in position. Insert the rest of the bolts into place and tighten all of the bolts evenly – not in rotation, but by the cross over method to load the bolts evenly and eliminate concentrated stresses. The bolts should be checked for tightness after an appropriate interval of use and retightened if necessary.
